ISSN 2734-9845
ISSN 2815-5858
e-ISSN 2734-9861
ISSN 2815-5858
e-ISSN 2734-9861

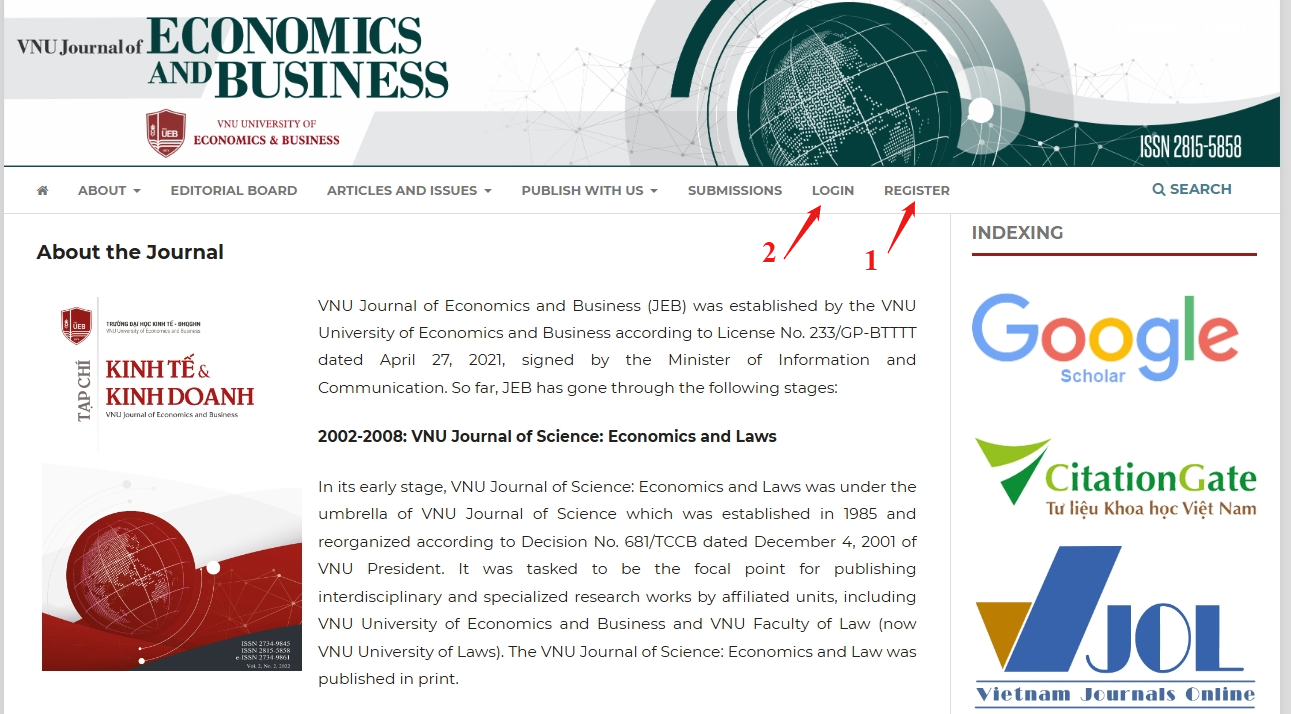
To make a submission to the journal, you will first need to register a user account with the journal and log in (see Registering with a Journal).
After that, when you login, you will be taken to your Dashboard.
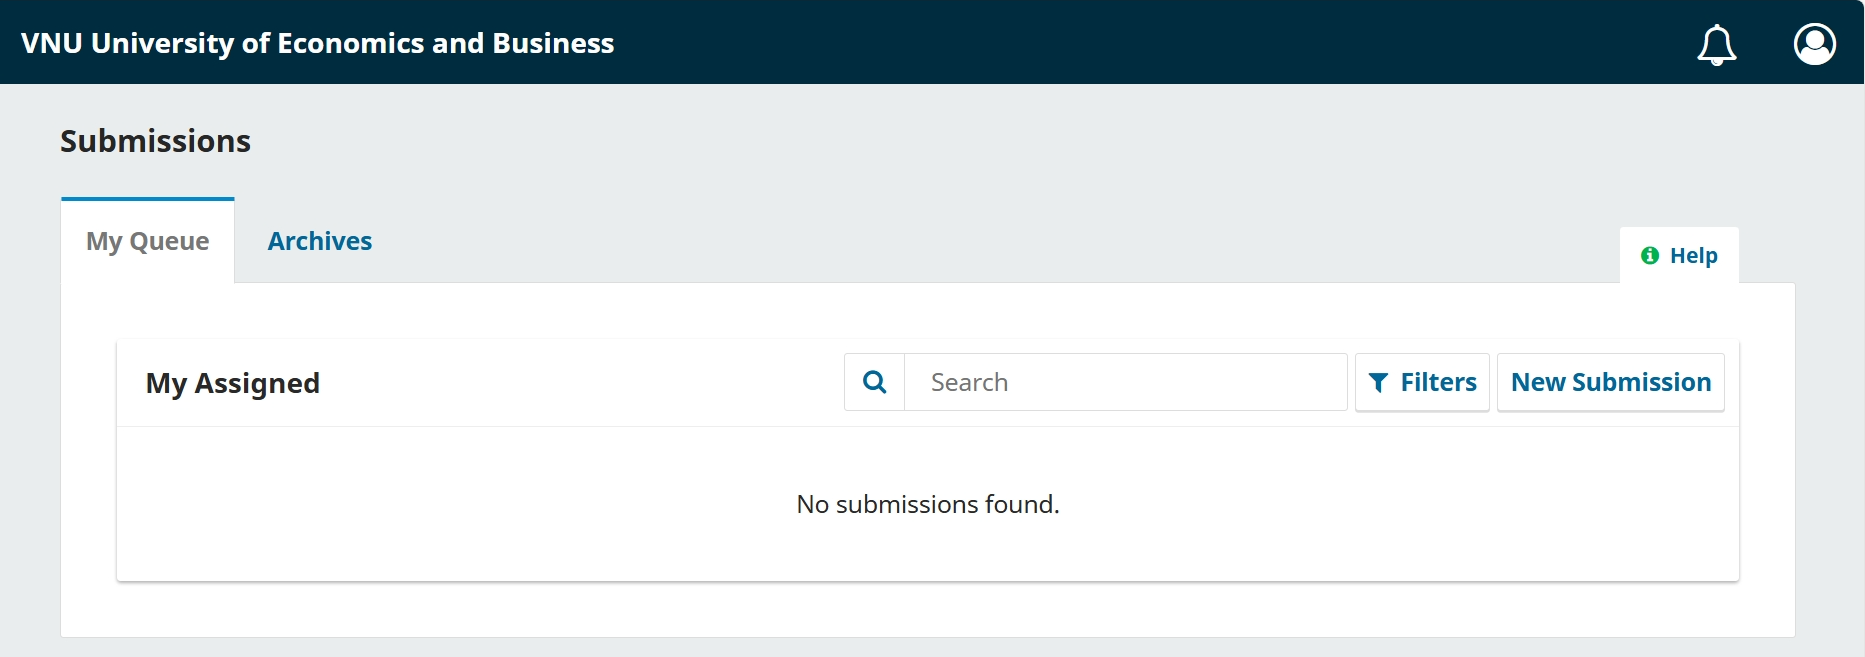
It is currently empty as you have made no submissions.
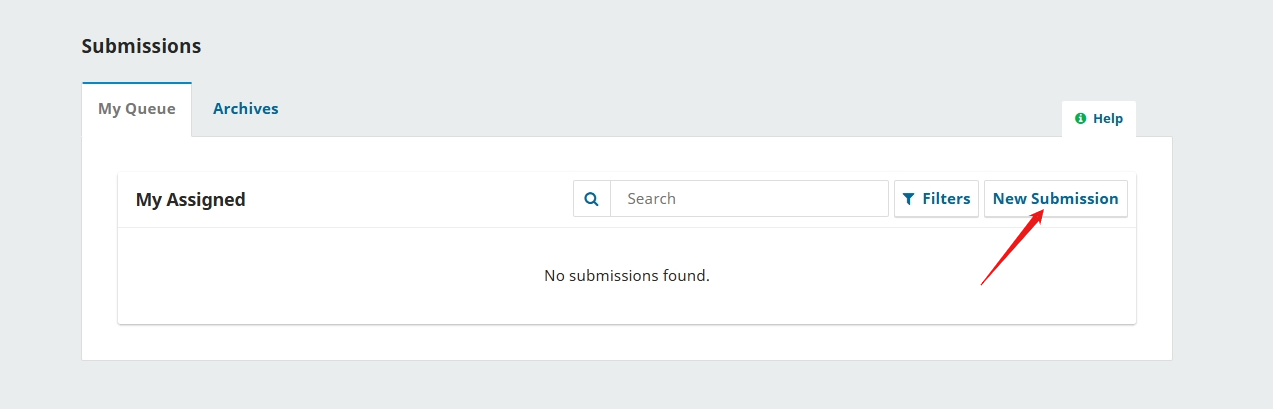
Start a new submission by clicking the New Submission button on the right side of the screen. You will be taken to Step 1 of a 5-Step process to upload and describe your submission.
In Step 1 you will provide preliminary information about your submission.

Select the appropriate section for your submission (e.g., article, review, etc.). If you aren’t sure which section is appropriate, make your best guess.
Read and agree to the statements in the submission checklist by checking each box. Include any comments for the editor, read the journal’s privacy statement, and then click the Save and Continue button to move to Step 2.
On Step 2, a window will open allowing you to upload your submission file.
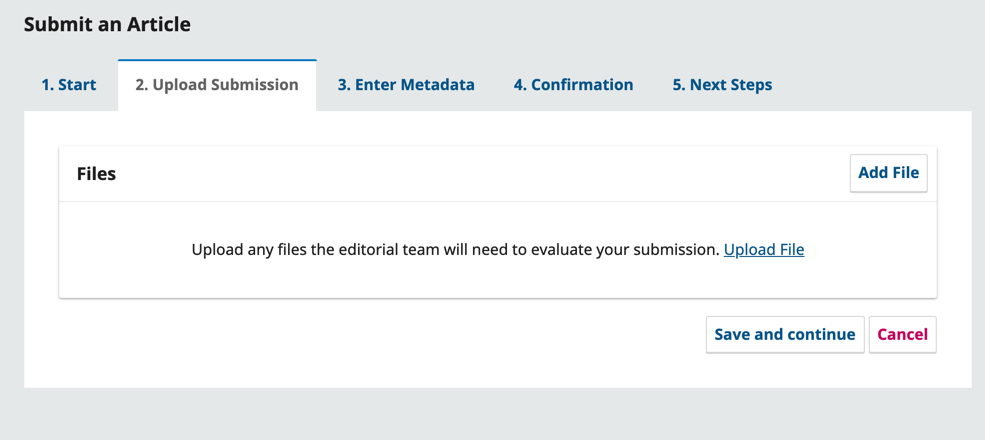
Authors can upload multiple files at once, as well as drag-and-drop files.
Once you’ve uploaded all your files you can indicate the file type for each from a single menu panel, and metadata such as a description or license can be entered during the workflow.
Once you have finished uploading and labelling all of your files, click the Save and Continue button to move to Step 3.
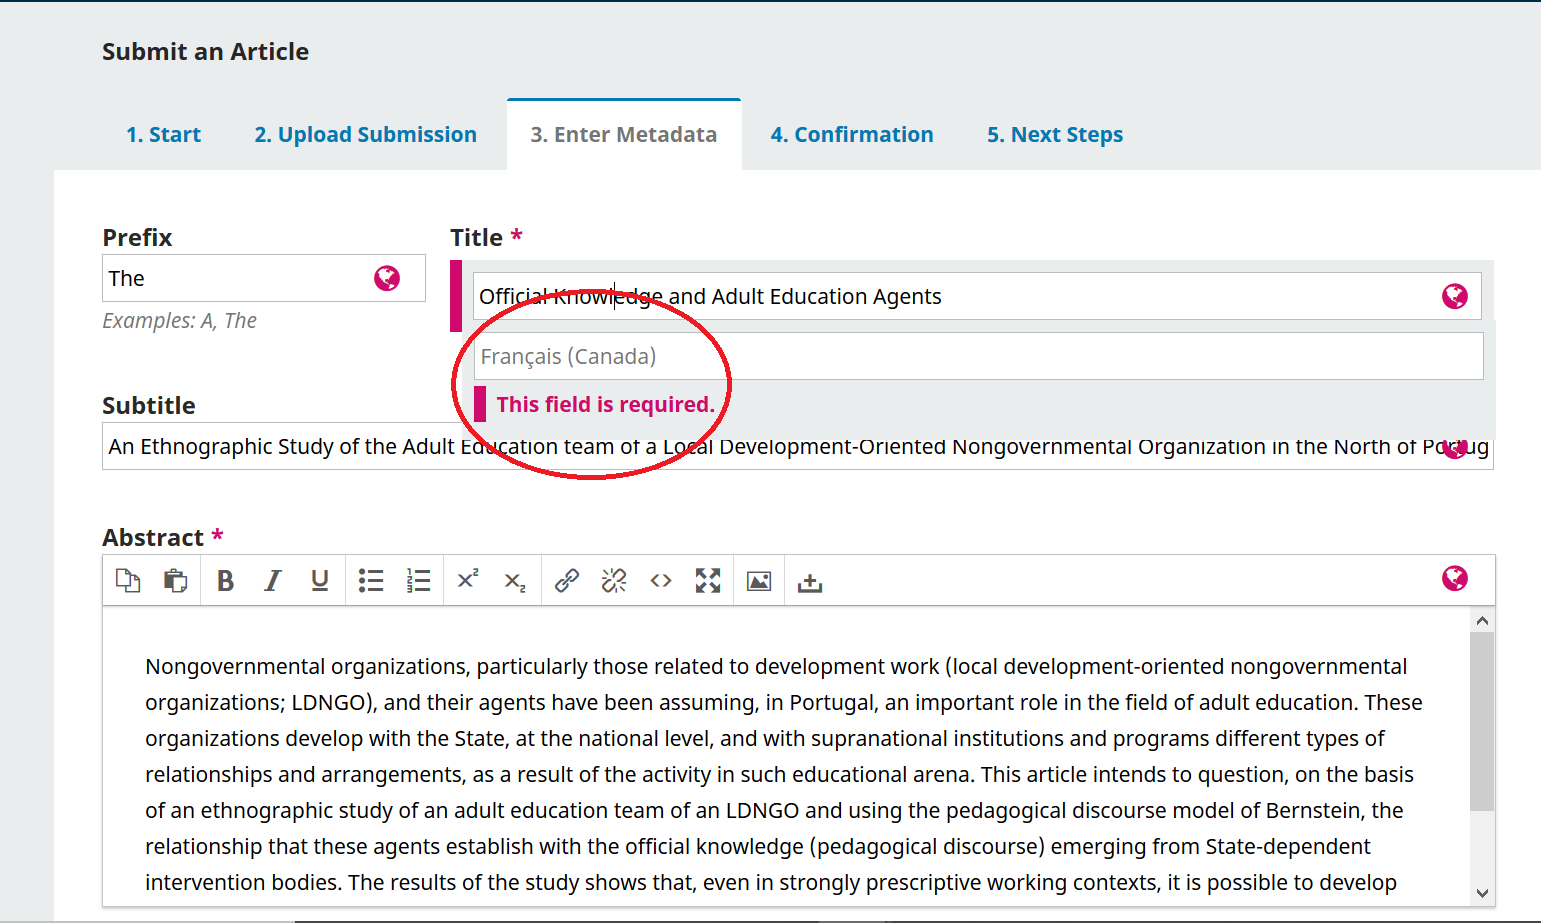
On Step 3, you will be asked to add more information about the submission, including the title of the submission (broken down into prefix, title, and subtitle), and the abstract.
You are able to add any additional contributors.

You can add more contributors (e.g., co-authors), by clicking the Add Contributors link. This will open a new window with fields to enter their information.
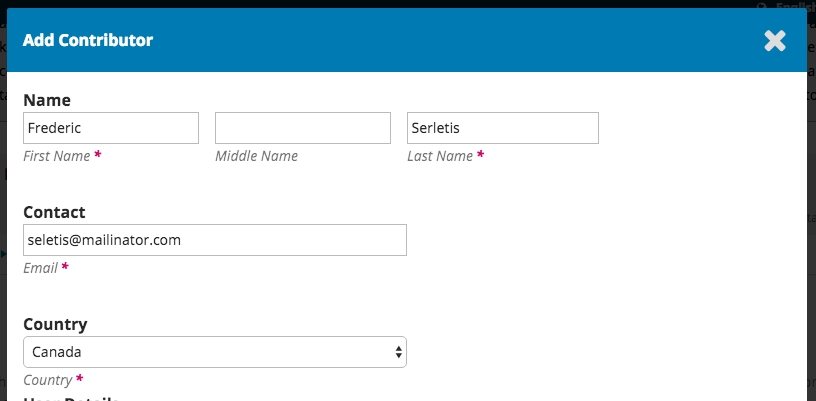
Hit Save, and the new contributor will appear on the screen.

You may also see additional fields to complete, such as keywords.
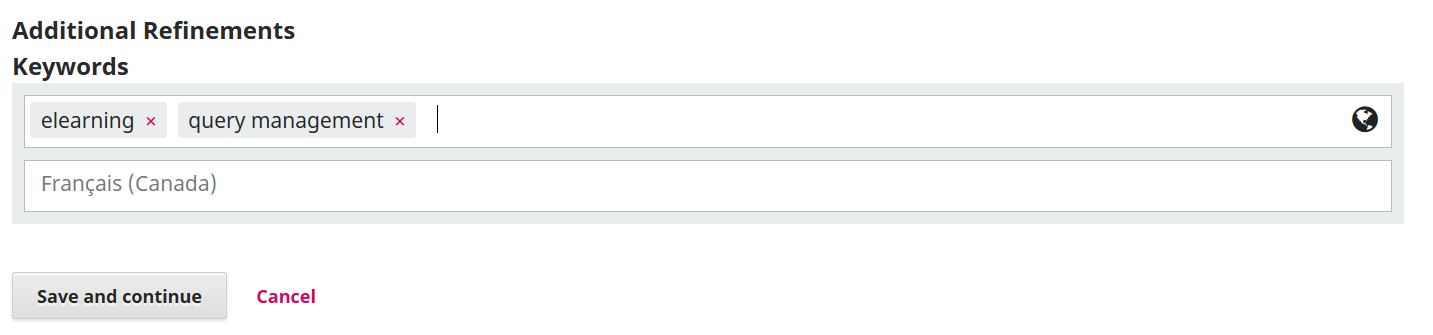
To enter keyword, simply type the word or phrase and hit your Enter key. The word or phrase will be formatted as a keyword.
Click Save and Continue to move forward.
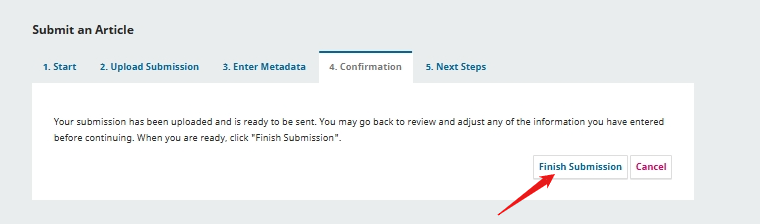
On Step 4, you will be asked to confirm that you are happy with your submission.
Click Finish Submission.
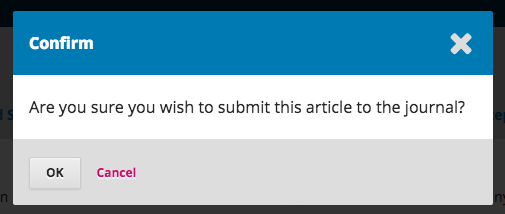
A box will pop up asking you to confirm you are finished. Click OK.
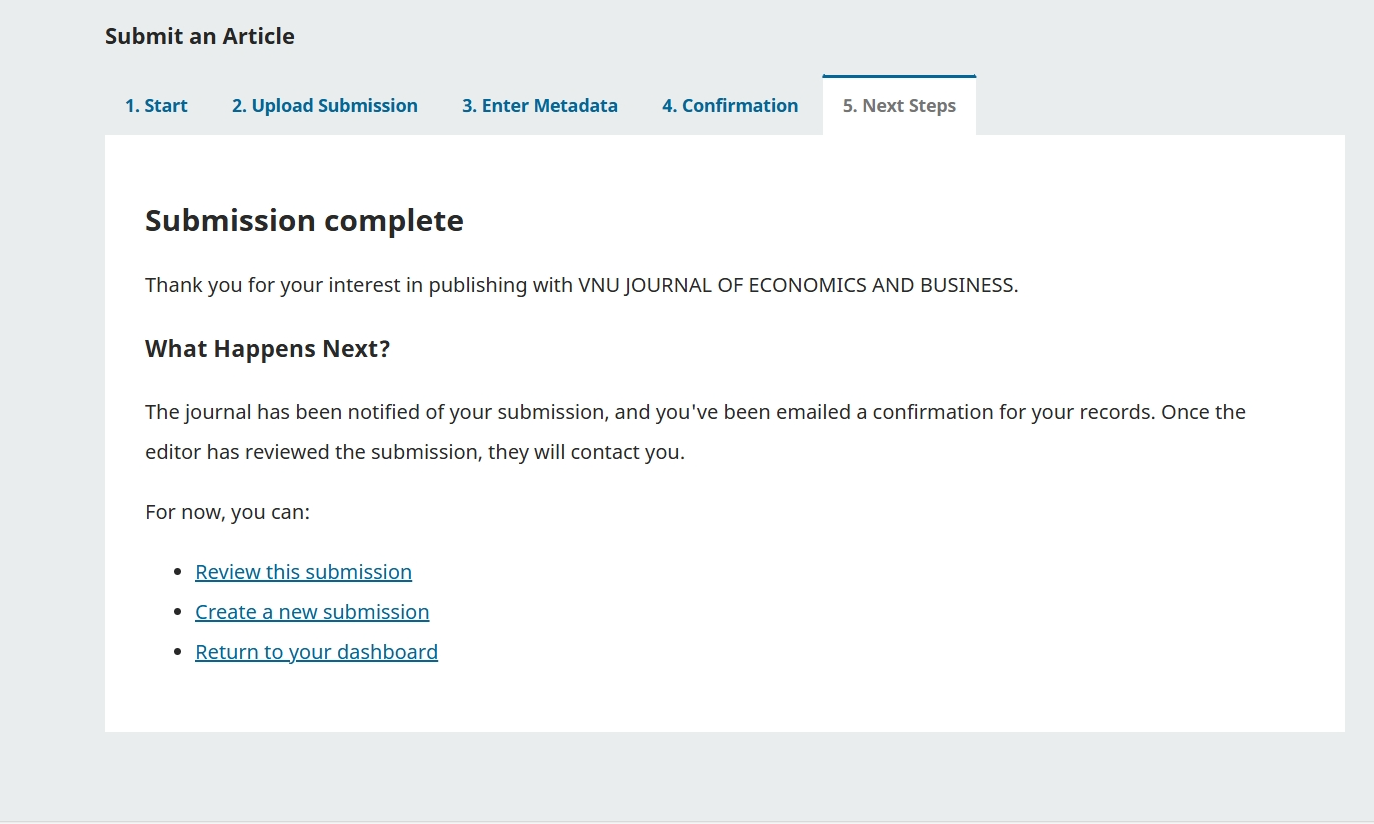
Your submission is now complete! The editor has been notified of your submission. At this point, you can follow the links to:
Once you complete a submission, you cannot make changes to it. If you want to replace the file you submitted or make other changes to the submission, you will need to contact the editor through the Pre-Review Discussions tool.
And here is your submission in your Dashboard. You can see that it is currently in the Submission stage.
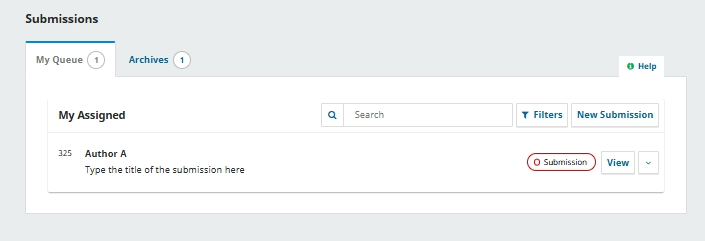
Over the coming days, it will move into the Review stage, and if accepted, into the Copyediting and Production stages before being published.
You may edit your own metadata at different stages of the editorial workflow. This will be dependent on settings granted by the Journal. You may either have global permission to make edits or have to send a request to the Editor to do so.
Changes might include updated abstracts, correcting spelling errors, or adding additional contributors.
To make edits to your submitted manuscript, click on the publication tab of your submission.
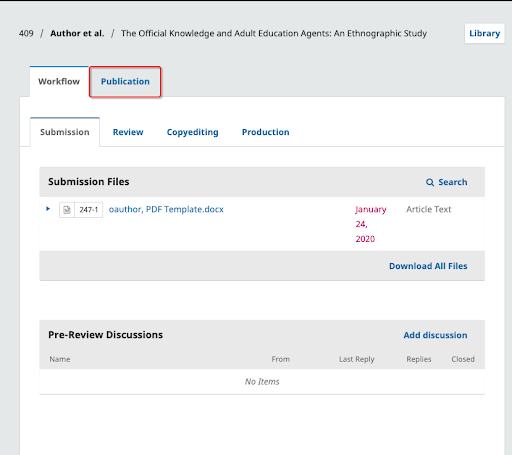
You will be able to make changes to any of the sub-menus on the left by clicking to those tabs. Click ‘Save’ once you’re done making your changes.
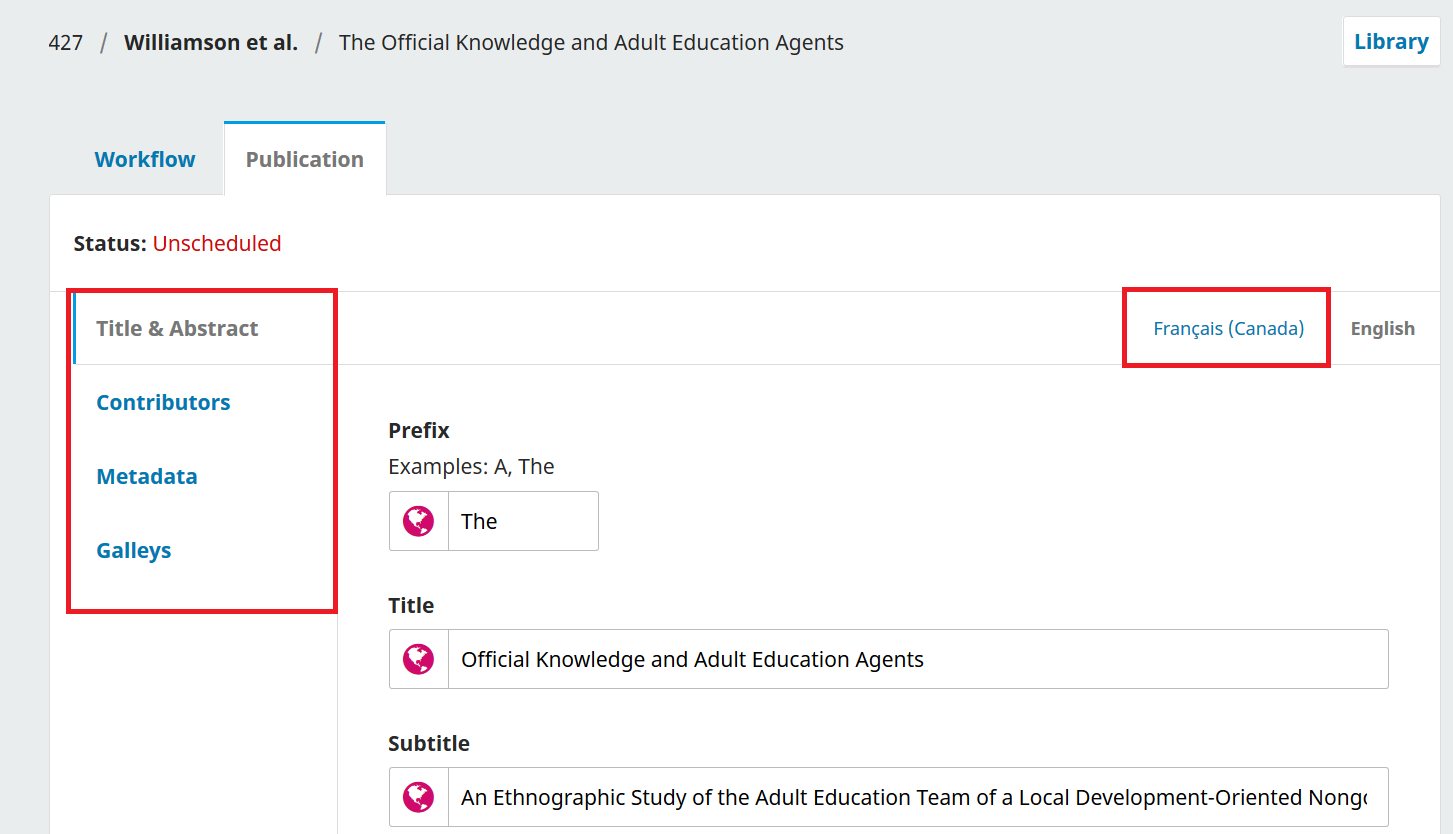
When granted permission, you will be able to make changes to the following sections on the Publication tab: Title & Abstract, Contributors, and Metadata. While Galleys is listed as an option on the side menu, you will not be able to upload or make changes in this section.
If you notice that the ‘Save’ button is grey and inactive, this means you will have to request permission from the Editor to make changes to your submission or ask them to make the changes for you.
Once the review process has completed, you will be notified via email by the editor of their decision.
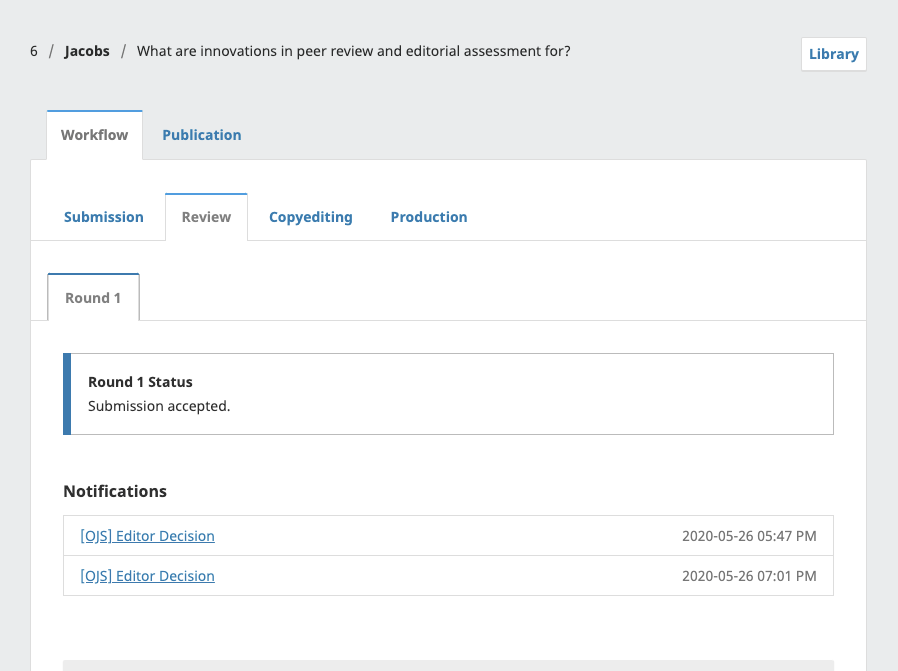
After receiving the email with the decision, login to your dashboard. Select the manuscript you have been notified about.
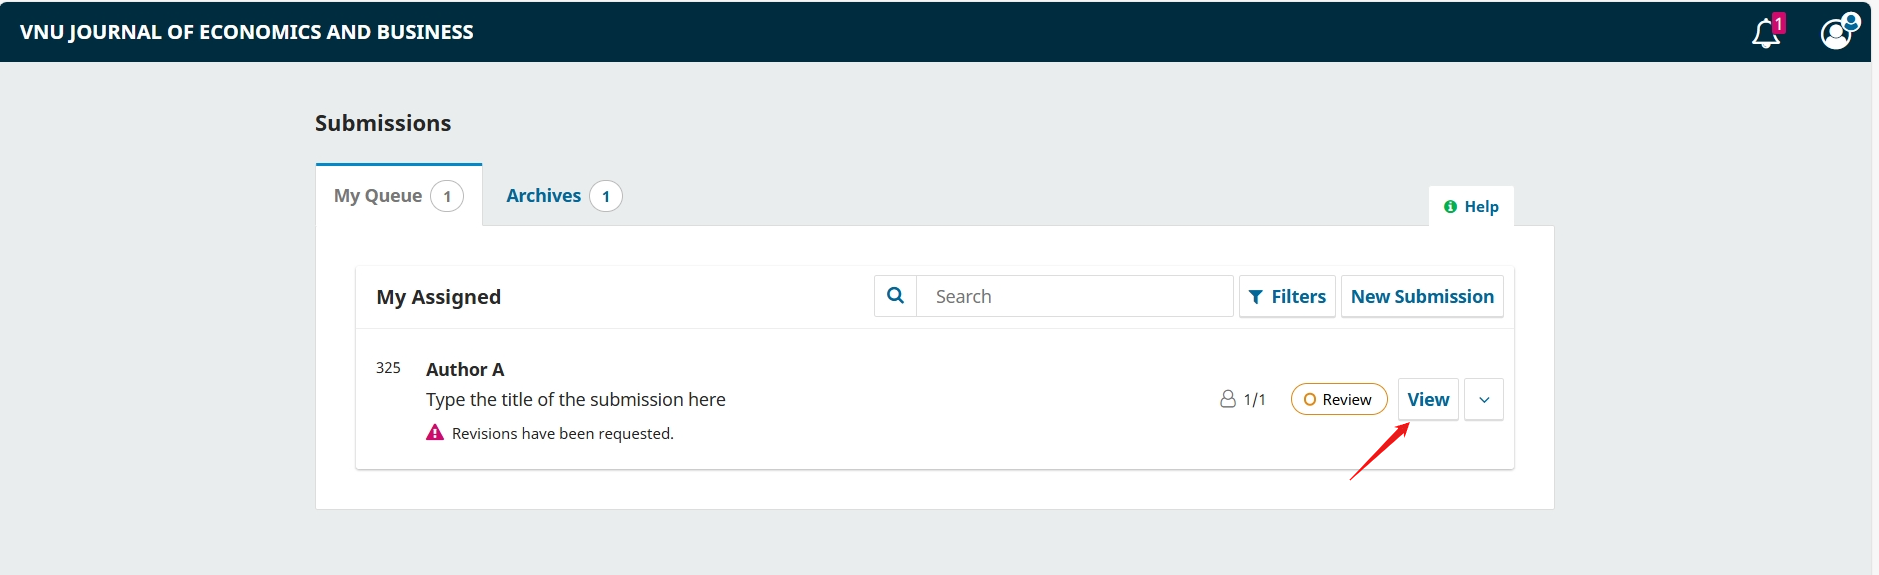
Within the Review tab of the manuscript, you will also see a copy of the Editorial Decision under Notifications. Depending on the type of peer review the journal uses, you may see less information on the Review tab of the journal.
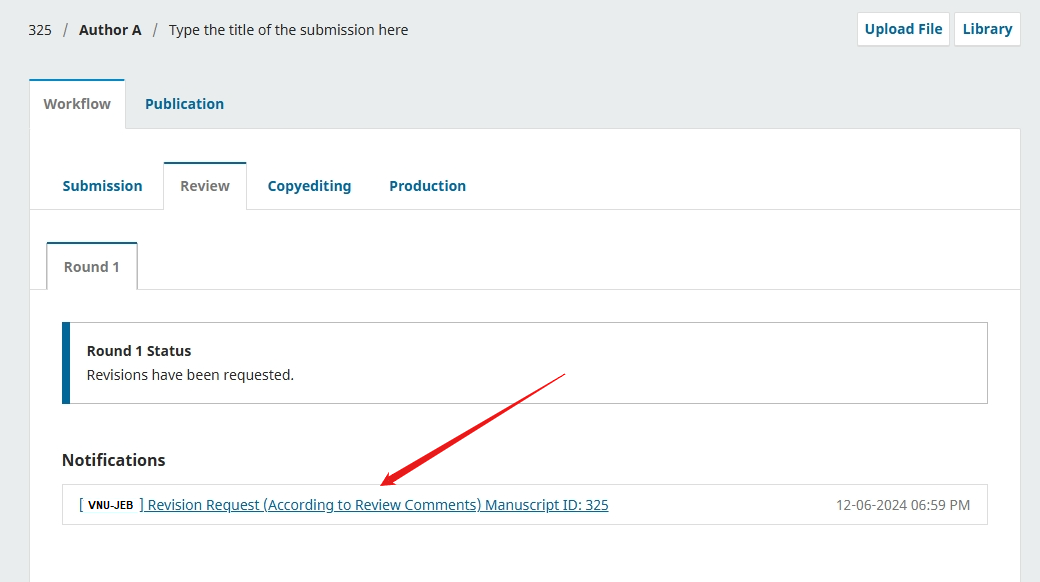
To view the Editorial decision, click the link under notifications.
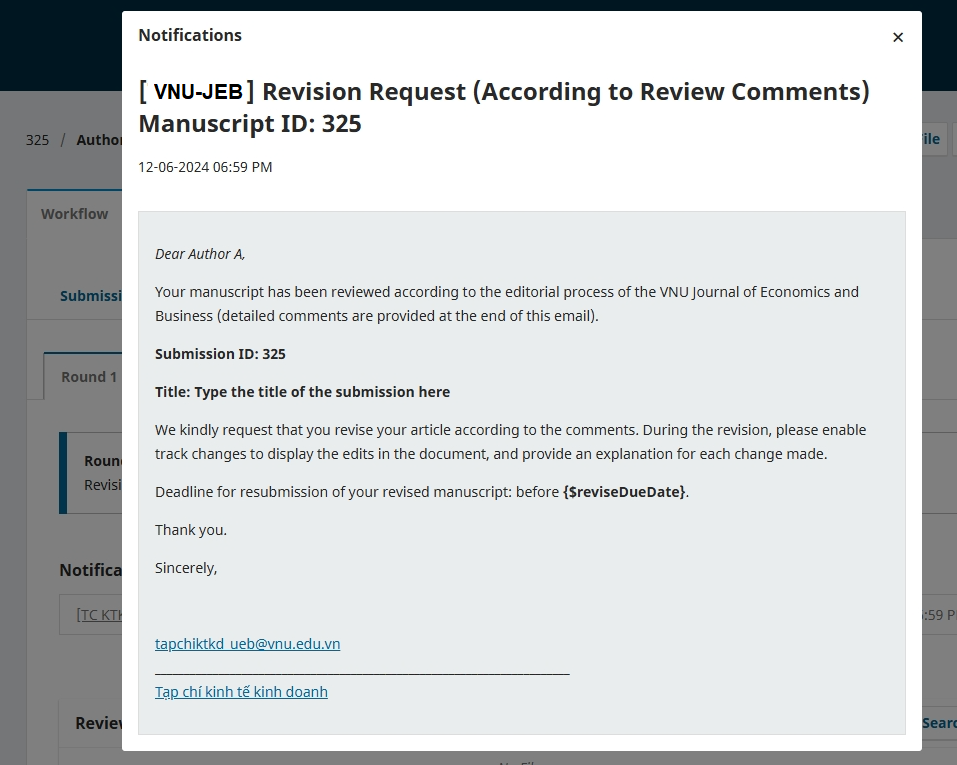
Based on the information in the editor’s message, you must now prepare your revisions.
Once you’re ready to upload the revised file, scroll down the page and find the panel for Revisions.
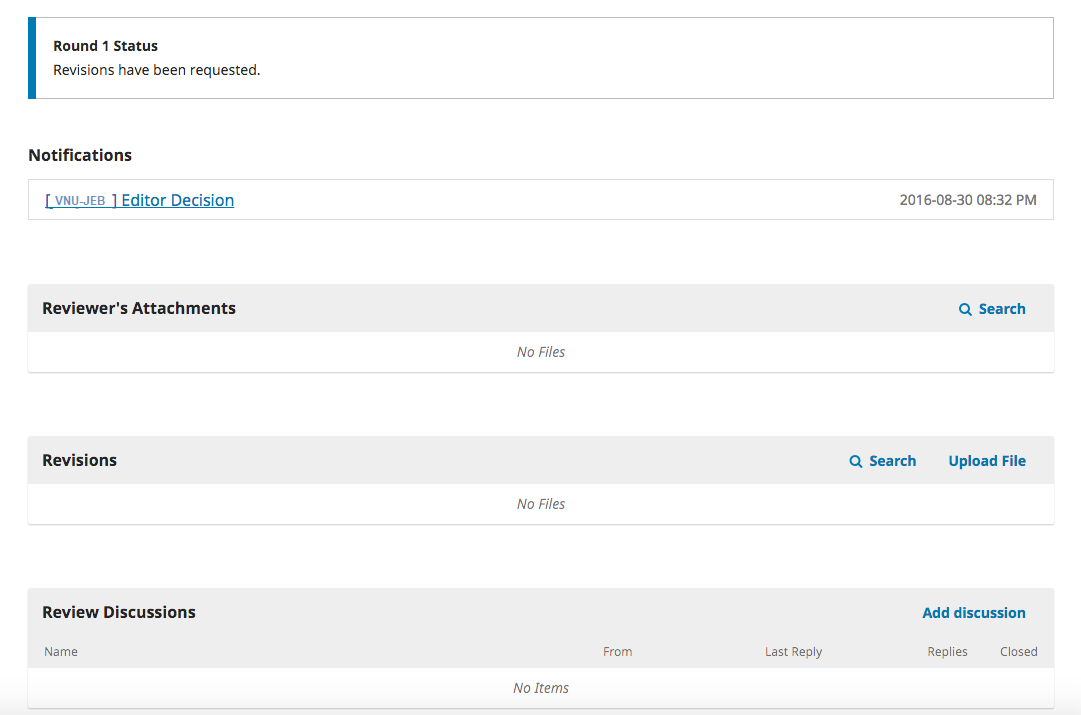
Use the Upload a File link to upload your revised manuscript.

Use the dropdown menu to choose that you are uploading a revision of an existing file.
Then upload the revised file and hit Continue.
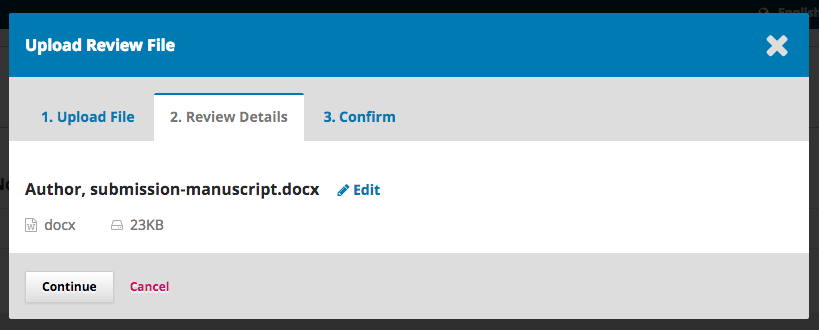
Check the file details and hit Continue again.
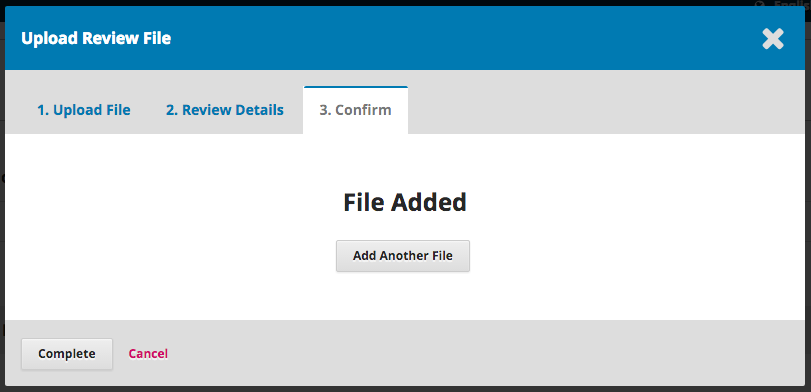
If you have any additional files to upload, do so now. Otherwise, hit Complete.
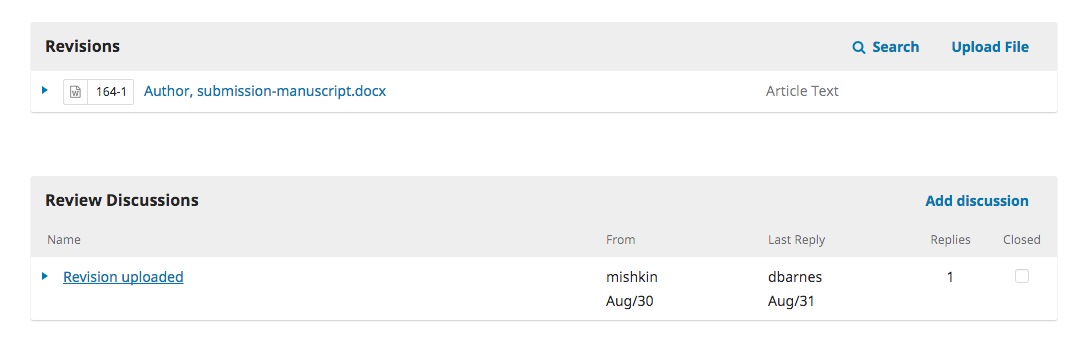
Your revised file is now visible in the Revisions panel.

The editor will receive a notification about the new file(s) being uploaded. Additionally, you can inform the editor via the Review Discussion panel as explained below.

From there, select the Add Discussion link.
Select the users you want to notify under Participants.
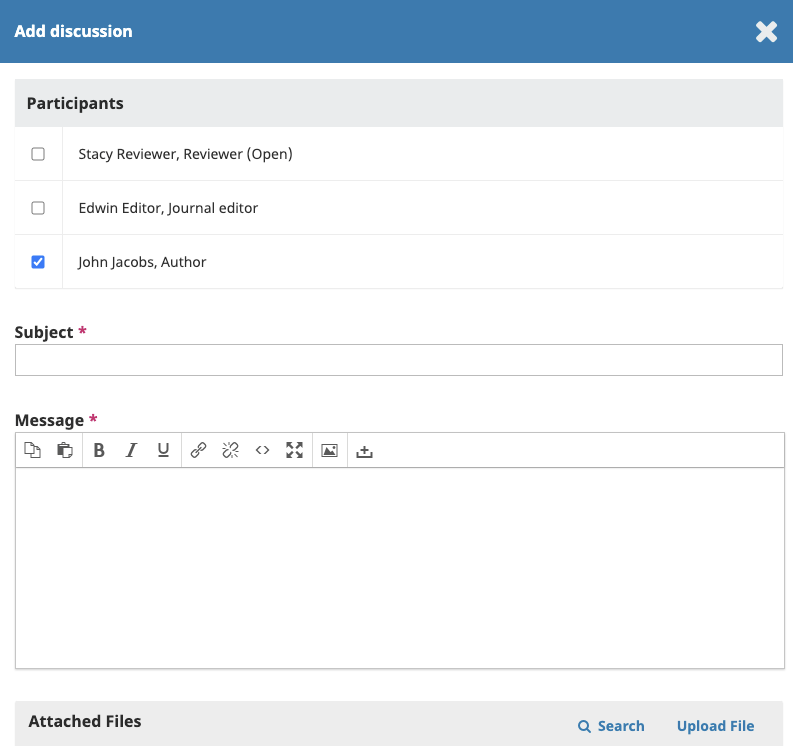
Add a subject line and a message.
Hit OK to send the message.
An email has now been sent to the editor and you (and the editor) can see the message in the Review Discussions panel.

At this point, the author needs to wait to hear back from the editor as to whether the revisions are acceptable.
You will receive an email that your revisions have been accepted.
In addition, notifications will appear on your dashboard.
The notifications show up in order of date, meaning the most recent one will be on the bottom. Click on it to open the message (which is the same as the email you would have also received).

Use the X in the upper right corner to close the window.
Further down your dashboard, you will also see a discussion reply from the editor.
Clicking the discussion title will open it up.

Congratulations! You’ve been accepted and your submission file is moving on to the Copyedit stage.
If the editor’s decision is to resubmit for review, you will need to log in and select the article in your submissions page. The resubmission is done in the review stage, there is no need to start a new submission.
At the review stage you will need to do two things to resubmit once you have revised your document:
Upload the new file in the revisions section. To upload a new file click on ‘Upload file.’ A new window will open allowing you to upload your file(s). Select the appropriate option from the dropdown menu to indicate you are submitting a revision of an existing file.
Add a discussion to notify the editor that you have re-submitted.
The peer-review process will be repeated, and you will likely receive additional revisions to make. Once these are completed and accepted, you will then be moved to the next stage.
The next step in the workflow is to inspect your submission files that have been copyedited.
You will receive an email indicating that files are available. To see them, login to the journal and go to your dashboard.
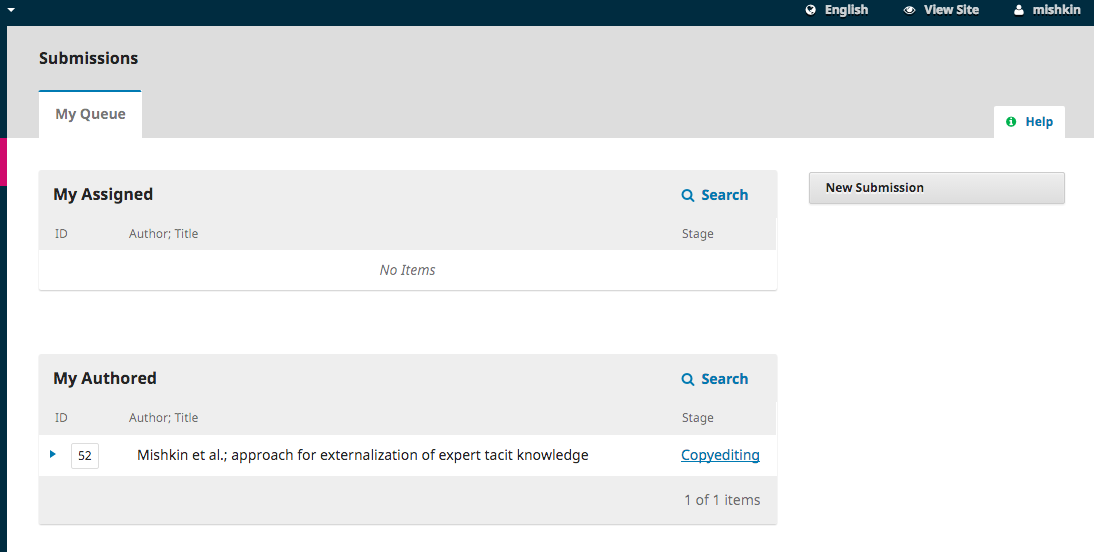
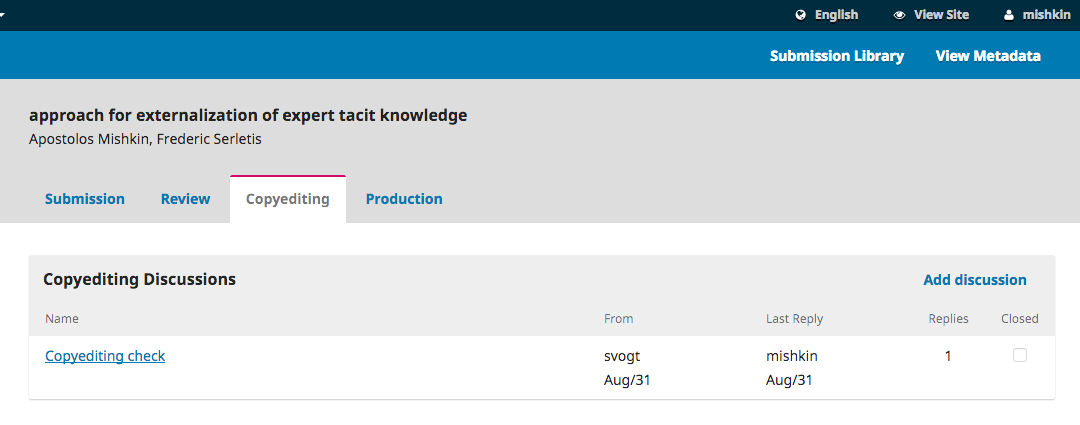
You can see your entry in the My Authored panel. Select the Copyediting link to go to the full submission record, including the notification in the Copyediting Discussions panel.
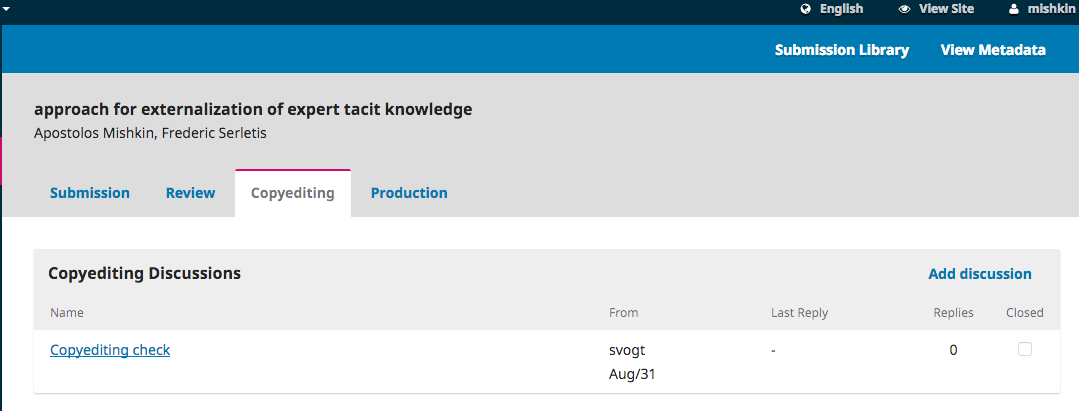
Click on the linked discussion to open it, read the message, and open the attached file.
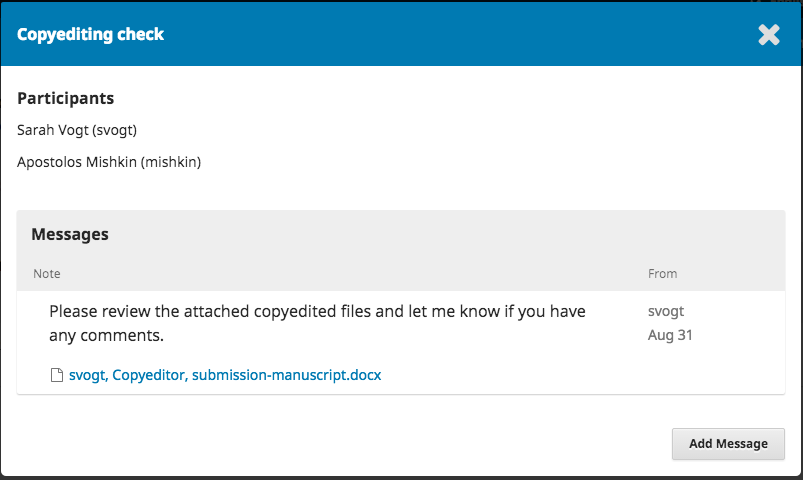
Once you have read the attached file, you can respond to the copyeditor indicating any required changes or your approval.
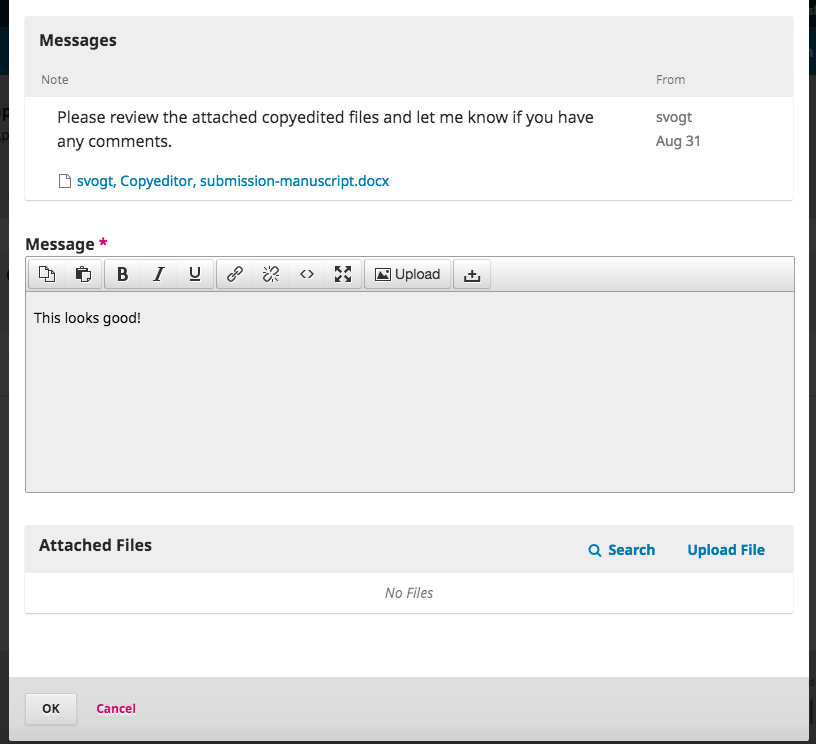
If needed, you could attach a revision, but for this example we will simply approve the changes and hit OK.
On your dashboard, you can see that you were the last person to reply to the message.
Your role in the copyediting process is now complete and you can wait for the request to proofread the final galleys (e.g., PDFs, HTML, etc.) before publication.
The next step in the workflow is to inspect your submission files that have been converted into galleys (e.g., PDF, HTML, etc.).
You will receive an email indicating that files are available. To see them, login to the journal and go to your dashboard.
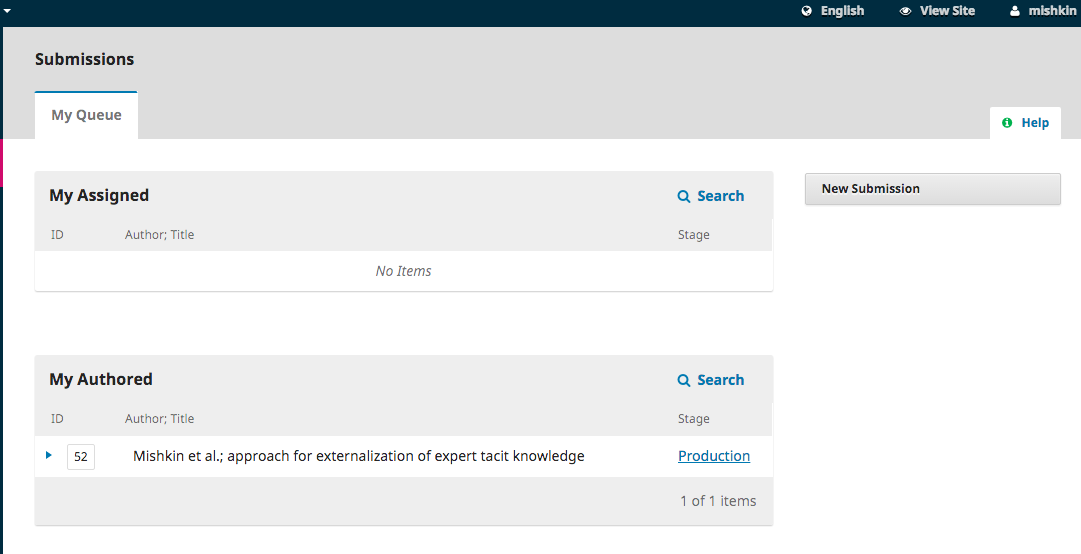
You can see your entry in the My Authored panel. Select the Production link to go to the full submission record, including the notification in the Production Discussions panel.

Click on the linked discussion to open it, read the message, and open the attached file.
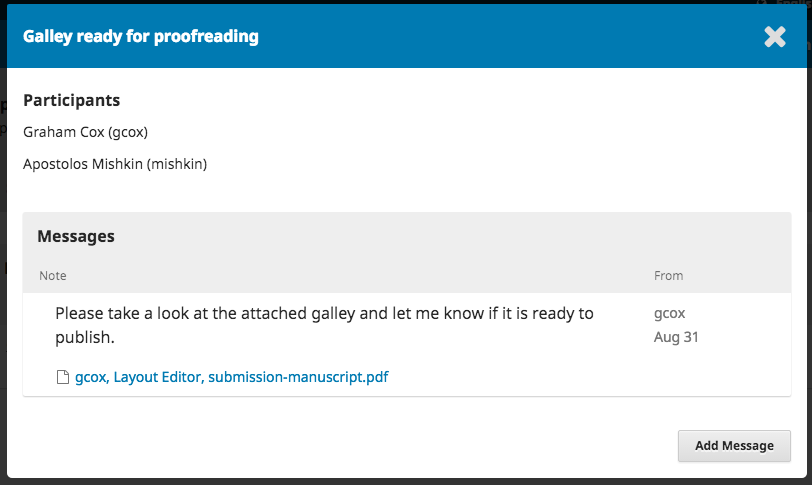
Once you have read the attached file, you can respond to the Layout Editor indicating any required changes or your approval.
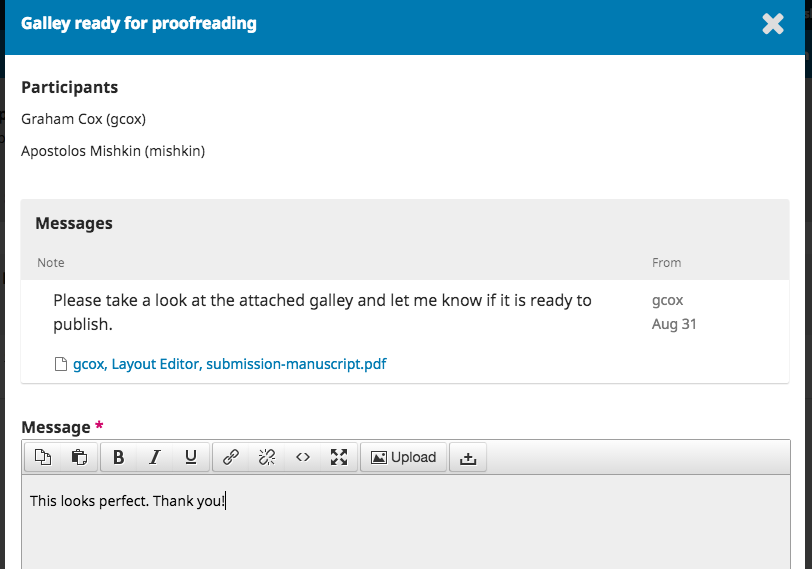
That’s it! Your role in the editorial workflow is now completed.


![]()
![]()

![]()
